HVAC systems compromise both heating and cooling and they work differently in the winter and in the summer.
Inspecting your heating and cooling systems will ensure that they are well-equipped to handle cold winter weather.
Even though you are not using your air conditioning in the winter, it is still important to prepare it for the dipping temperatures.
And when it comes to your heating system, the last thing you want is to have it malfunction when you need it the most.
Now is the best time of year to go through a seasonal heating and cooling checklist:
Checklist: Preparing Your Heating System For Winter
Never assume that your heating system is going to kick into gear as soon as the temperatures start to drop.
To make sure your business is comfortable and warm during the winter season, follow this checklist:
1. Start Your Heating System
The first thing you want to do when going through a seasonal heating checklist is to turn on the system. It’s best to do this before the temperatures drop so that you are not stuck with no heat during a particularly cold day.
From here, you’ll be able to follow the rest of this checklist to inspect your heating system.
2. Replace the Filters
Filters are designed to trap dust and debris and prevent it from circulating around your business.
Clean filters not only ensure the free flow of clean air but also increase the efficiency of your system. When your filters are clogged with debris, your heating system has to work harder to produce warmth.
You can clean your filters if they are not particularly dirty and replace them if they are clogged with dirt.
3. Check the Ignition Burner
If your heating system has a pilot light, now is the time to make sure it is working properly. If it is not, the system will not work.
Newer systems are designed to prevent gas leaks if the pilot light does go out. In this case, the current will stop, the valve will close, and no gas will leak out.
However, this also means that your heating system will not kick in.
If you’re not sure how to inspect your ignition burner, contact a professional HVAC technician to check the burner, gas leaks (if it’s an older system), heat exchanger, combustion blower, and fan belt.
4. Inspect the Registers
If you have a forced-air heating system, go around your business and make sure there are no blockages in the registers. When the system is on, make sure there is warm air coming out.
For electrical baseboards, ensure they are working and remove any items blocking the vents and clear off any dust.
5. Check the Thermostat Controls
When it comes to your thermostat, set it to the desired temperature you want in your business during the winter and check to see if the heating is adequate.
6. Inspect the Electrical Connections
Inspecting the electrical components will make sure there are no faults or corrosion in the wiring. If there is, there is a chance that the circuit is shot.
As well, checking the electrical components of your heating system will reduce the risk of fire.
7. Examine the Duct Work
In order for air to blow through your heating system efficiently, the ductwork needs to be clear of debris, mold, or rodent infestation.
Also, check for leaks to ensure that there is no loss of heat – which can negatively impact your heating bill.
Getting up into your vents isn’t easy so it’s best to have an HVAC technician take a look.
Checklist: Preparing Your Air Conditioning System for Winter

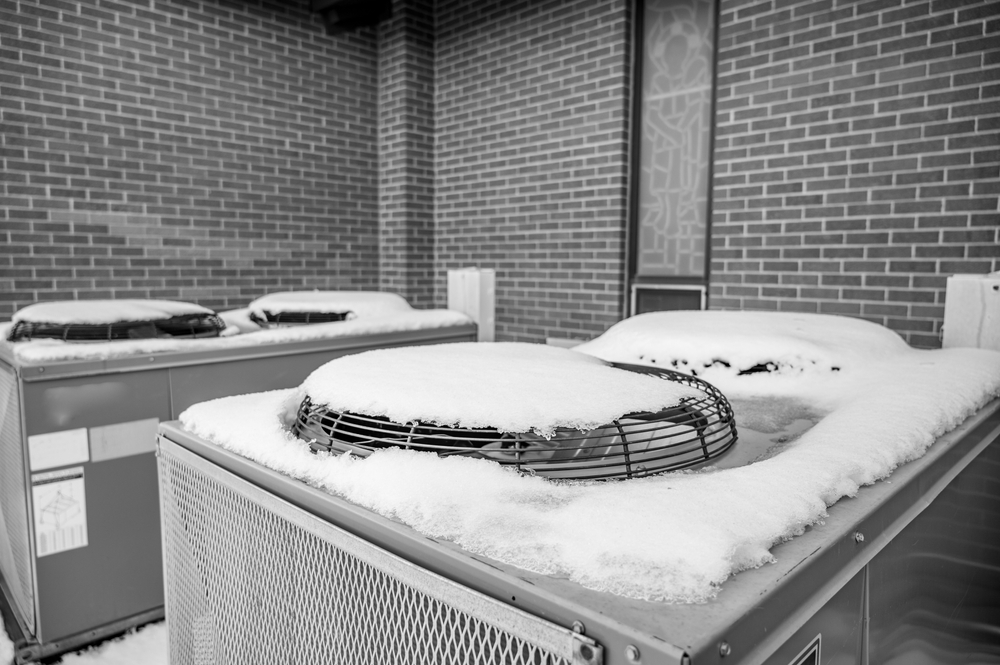
Winter weather can be harsh which is why it’s important to inspect your air conditioning system to prevent damage caused by snow, ice, and cold.
Winterizing your air conditioning will help protect it from cold weather and protect it from rust. Here are the protective measures you should take:
1. Turn Off Your AC System
The first step you should take when the temperature begins to drop is to turn off your air conditioning system.
This will prevent the AC from kicking in on warmer winter days and also keep out water that could potentially freeze.
Along with turning off the actual unit, you should flip the AC breakers on your electrical panel.
2. Clean the Exterior Air Conditioning Unit
Using a hose, washy away any dirt, dust, and debris from your air conditioner’s exterior unit. Make sure to also clear away leaves, small branches, and dead grass.
Before you begin covering the unit, make sure that it is completely dry.
3. Cover Any Exterior Pipes
Exterior exposed pipes can be protected with foam pipe covers, which you can easily cut and fit over the pipes. This helps to insulate the pipes and protect them from freezing and bursting.
When you are covering these pipes, use zip-ties or duct tape to secure the covers. Just don’t overdo it since you will have to remove these in the spring.
4. Cover the Exterior Air Conditioning Unit
Completely cover your exterior air conditioning unit with a waterproof cover (either plastic or vinyl will work). Use bungee cords or vinyl ropes to secure the cover from being blown away or damaged by strong winds.
Get Ready for Winter with Preventative Maintenance!
Don’t wait until the last minute to inspect your business’s heating and cooling systems! With preventative maintenance service, you can rest assured that your business’s HVAC needs are taken care of on a regular basis.
When you sign up for Advantage Refrigeration’s Maintenance Program, we will create a maintenance plan for your business needs and do a preliminary inspection of your business property.
Once the maintenance program begins, we will perform maintenance and repairs on your business’s heating and cool systems.
How’s that for peace of mind?
You can find out more about our maintenance program here or contact us for more information!


